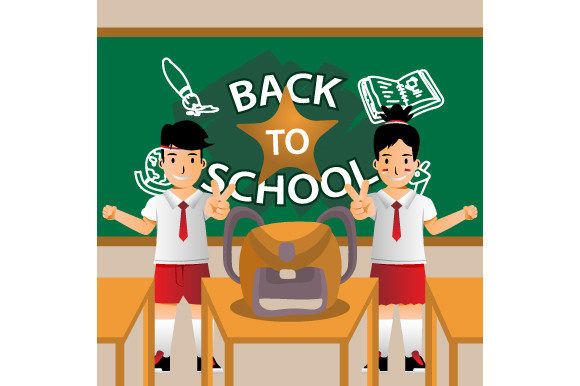
Square Back to School Banner Template: Smart Choices for Effective Designs
When you need a polished banner for a back-to-school campaign, a pre-designed template can save hours. The Square Back to School Banner Template set, delivered in AI, EPS, JPG, and PNG formats, offers flexibility for both print and digital use. But even with a ready-made starting point, small decisions can make the difference between a professional result and one that feels off. Let’s walk through the common pitfalls and better approaches so you get the most out of these files.
What You Get and Why It Matters
The bundle includes vector files (AI and EPS) for scalable editing, plus raster images (JPG and PNG) for quick use. Many people jump straight to the JPG and skip the vector files, assuming they’re the same. That’s a mistake. The AI and EPS versions let you resize the banner to any dimensions without losing sharpness, change colors precisely, and reposition elements. If you ever plan to print the banner on a larger sign or adapt it for social media posts of different sizes, those vector files are essential.
Another overlooked detail is transparency. The PNG file typically preserves a transparent background, which is ideal for overlaying the banner on websites, presentations, or printed materials where you want the background to show through. The JPG, by contrast, often includes a white background. If your design calls for a layered look, reach for the PNG first.
The Square Format: When It Works and When It Doesn’t
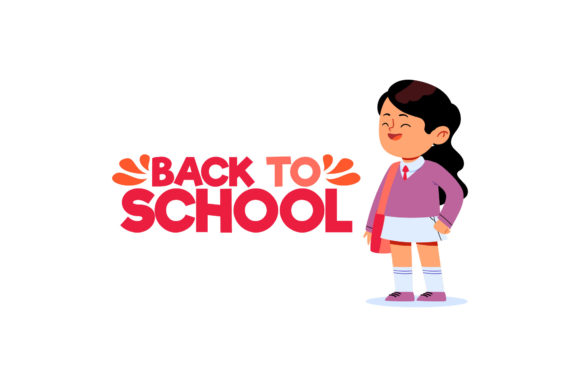
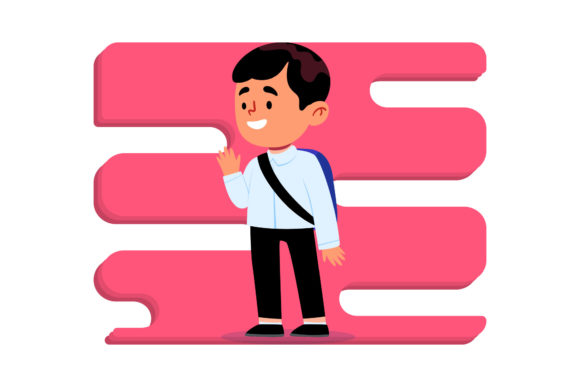
Square banners are popular for social media profiles, event thumbnails, and small posters. But not every back-to-school message fits naturally into a square. If your announcement includes a long list of dates or a wide group photo, a square can force you to crop or shrink important content. One mistake is cramming too much text or too many images into the limited space. Instead, edit ruthlessly: keep one strong visual, a short headline, and a clear call to action. Use the square format to your advantage by centering the focal point—for example, a smiling student with a backpack—and placing text in the lower third.
If you’re designing for a space that expects a different aspect ratio, like a horizontal website hero or a vertical flyer, you can adapt the square template by expanding the vector canvas. With the AI or EPS file, add background elements to fill the extra area. Many beginners panic and stretch the square, distorting the design. Always hold the Shift key when resizing in Illustrator or other vector programs to maintain proportions. Then use the Artboard tool to extend the canvas, not the design itself.
Common Customization Mistakes
Even the best template can look generic if you don’t customize it thoughtfully. A frequent error is keeping the placeholder text exactly as it came, which can confuse viewers. Replace “Your School Name Here” with your actual institution or program name. Another mistake is using low-resolution images for the background or student photos. In the JPG template, the graphics are designed to look crisp at a certain size, but if you swap in your own picture from an old phone, the final product may appear blurry when printed. Stick to images at least 300 dpi for print, or 72–150 dpi for digital use.
Color is another area where small choices have big impact. Back-to-school templates often use bright yellows, reds, and blues. While these colors read as energetic, they can clash with a brand’s existing palette. If you run a tutoring service or a school supply store, your logo uses specific colors. Open the EPS file in Adobe Illustrator and use the eyedropper tool to sample your brand colors, then adjust the template elements accordingly. This makes the banner feel custom, not a generic download.
File Format Misunderstandings
Many users think EPS files are outdated or hard to open. In reality, EPS works with older vector programs and some open-source editors, making it a safe choice if you’re not sure which software your print shop uses. AI files are native to Adobe Illustrator, which is industry standard for complex edits. If you only have free software like Inkscape or a simple online editor, consider using the SVG export from EPS or the high-resolution PNG. Do not try to edit the PNG directly for major layout changes—you’ll lose quality and end up with pixelated edges.
Another oversight: assuming all four files are identical in content. Occasionally, the JPG and PNG may have slightly different cropping or alignment due to the way the raster files were rendered. Always check the vector source (AI or EPS) as the authoritative version. If you need to match a specific dimensions, edit the vector first, then export the JPG and PNG yourself. That way you control the output.
Practical Checks Before You Download or Use
Before you commit to a Square Back to School Banner Template, verify a few things. First, confirm that the license allows commercial use if you plan to sell products or use the banner in paid advertising. Most templates from reputable sources come with a standard license that covers personal and commercial use, but it’s worth reading the terms. Second, check the font files included. Some templates embed fonts, but others only show system fonts that may not be installed on your computer. If you open the AI file and see missing fonts, substitute with a similar free font like Montserrat or Open Sans to maintain the style.
Check the template’s resolution as printed. A 3000×3000 pixel square at 300 dpi gives you a 10×10 inch print, which is fine for a poster or banner. If you need something larger, the vector format allows scaling to any size, but the background textures or raster effects (if any) may become pixelated. In that case, enlarge the vector elements and replace raster textures with vector patterns. This is an intermediate step, but it avoids disappointment at the print shop.
Better Approaches for Different Use Cases
If you’re a small business owner running a back-to-school sale, use the square template for Instagram and Facebook posts. Keep the design simple: a product shot in the center and a 20% off code below. For a school PTA newsletter, use the PNG version with transparency overlaying a photo of the school building. For printed flyers distributed at community events, print from the AI file using CMYK color mode. RGB colors can look vibrant on screen but dull on paper; switching to CMYK before printing ensures the colors match.
When you need to present multiple banners in a campaign, keep consistency by using the same background pattern from the template but varying the central image or text. This gives a unified look without boring repetition. Avoid the mistake of changing the font or color drastically from one banner to the next, which can confuse parents looking for your event info.
Final Tips for a Polished Result
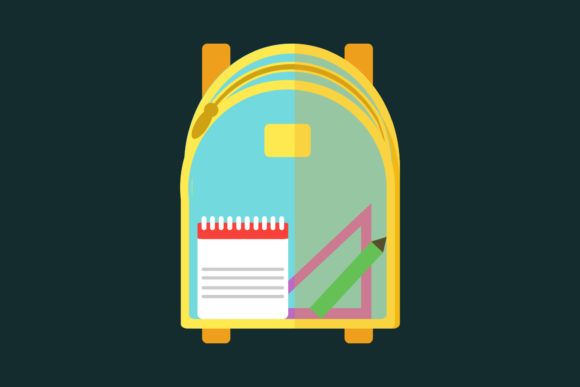
Don’t be afraid to simplify. One common design mistake is trying to use every element provided in the template—the starburst, the chalkboard background, the apple, the pencil, plus three text boxes. The result looks crowded and hard to read. Instead, pick one or two strong elements and use white space to let them breathe. A clean banner with a single backpack icon, a bold headline like “Ready for School,” and a date line is more effective.
Test your final design on a phone screen and a large monitor. The square format works well for mobile, but check that text is legible at a thumbnail size. If your headline is too small at 500×500 pixels, increase its font size in the EPS file. Print a small proof before ordering bulk prints—a color shift or cropping issue is cheaper to fix on a single sheet than on 500 posters.
With the Square Back to School Banner Template, you have a solid foundation. By choosing the right file format, customizing with brand colors and fonts, and avoiding the common mistakes of overcrowding and ignoring vector scalability, you can produce a banner that looks professional and connects with your audience. Take the extra few minutes to open the AI or EPS file, and you’ll get results that feel personal, not generic.