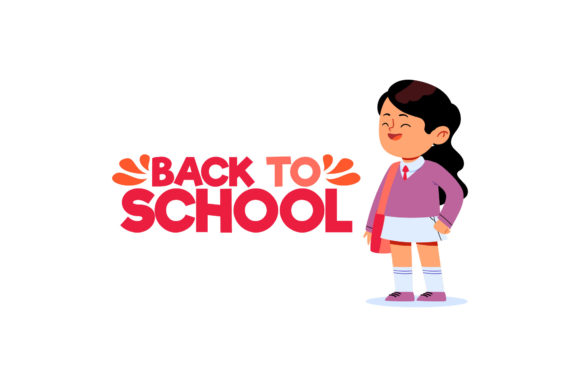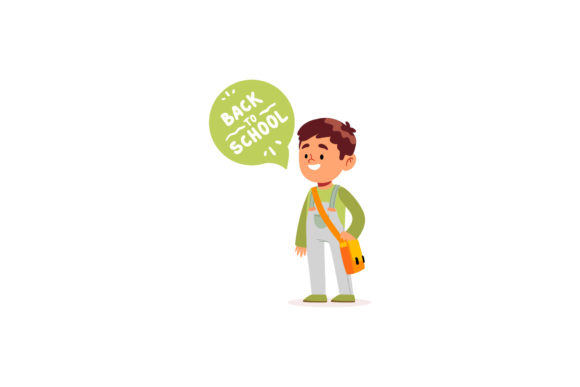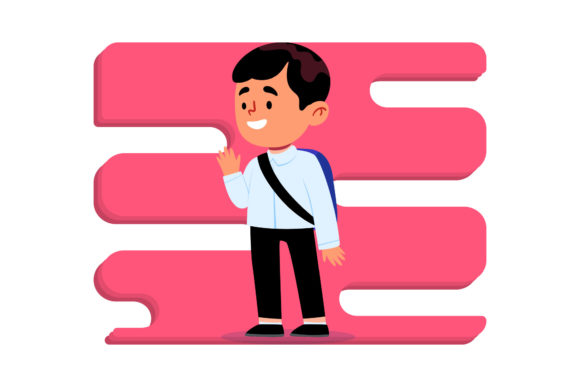
Back to School Character Background: A Practical Guide to Choosing and Using Digital Designs
Whether you’re a teacher sprucing up your classroom door, a small business owner creating promotional flyers, or a parent designing a custom banner for a school supply drive, the right “Back to School Character Background” can save you hours of work. These digital assets typically feature playful school-themed characters—pencils with faces, cheerful backpacks, chalkboards with smiling erasers—set against vibrant backgrounds. They come in multiple file formats so you can edit them in professional software, cut them on a vinyl machine, or simply drop them into a presentation.
But buying and using these design files isn’t always as straightforward as it seems. Many people jump in without understanding what each format does, only to end up frustrated when the file doesn’t open, scales oddly, or loses quality. Let’s walk through the common pitfalls and, more importantly, how to avoid them so you can get the most out of your purchase.
What Exactly Is a Back to School Character Background?
A Back to School Character Background is a digital illustration that combines school-themed characters (like a smiling globe or a book with glasses) with a compatible backdrop. The character and background are usually on separate layers or combined into a single flat image, depending on the format. Designers bundle these assets into packs that include multiple file types—typically AI, EPS, SVG, DXF, JPG, and PNG—all sized at 1920 x 1280 pixels. That canvas size makes them ideal for social media graphics, flyers, web banners, and even small printed signs.
The versatility lies in the formats. AI and EPS are vector formats meant for professional editing in software like Adobe Illustrator or Affinity Designer. SVG and DXF are also vector-based but are often used for cutting machines (Cricut, Silhouette) or for web use. JPG and PNG are raster formats—PNG maintains transparency, JPG is a smaller file without transparency. A good pack gives you all of these, so you can choose the right tool for the job.
Common Mistakes People Make with Background Character Packs
Most issues come from a mismatch between the file format and the intended use, or from not checking the specifications before downloading. Here are the mistakes that cause the biggest headaches.
Mistake #1: Ignoring the Canvas Size
Many buyers see “1920 x 1280 pixels” and assume it works for everything. That size is perfect for web banners, YouTube thumbnails, or keynote slides. But if you try to print a poster at 300 DPI, that same image will be only about 6.4 by 4.3 inches—too small for a wall display. The vector files (AI, EPS, SVG) can be scaled infinitely, but the raster files (JPG, PNG) are fixed to that pixel dimension. People who don’t distinguish between vector and raster often end up with blurry printouts or stretched images.
What to do instead: Decide whether your final output will be digital or printed. For digital, the 1920 x 1280 PNG or JPG works great. For print, use the vector file (AI or EPS) so you can scale it up without quality loss. If you don’t have editing software that can open vectors, ask the seller if they offer a larger PNG or a PDF version.
Mistake #2: Assuming Every File Is Editable
One of the biggest letdowns happens when someone opens the JPG or PNG in Canva and expects to change the character’s color or move the background elements separately. Those formats are flattened—everything is merged into one image. You can’t ungroup a pencil from the background in a JPG. The AI and EPS files are layered, but you need Adobe Illustrator or a compatible tool to edit them.
What to do instead: Check the product description carefully. If the listing says “6 digital files” and lists AI and EPS, those are the editable ones. If your skill level is limited, look for packs that also include an editable PDF or a transparent PNG that you can layer on top of other backgrounds. For occasional edits, free software like Inkscape (for SVG) or Gravit Designer (for EPS) can handle basic changes.
Mistake #3: Misunderstanding SVG and DXF for Cutting Machines
Hobbyists with Cricut or Silhouette machines often buy these packs hoping the SVG will work right out of the box. But many “Back to School Character Background” designs have complex backgrounds with shading and multiple colors. A cutting machine expects single-color, clean outlines. If the SVG contains gradients or raster elements, the machine won’t cut properly.
What to do instead: Look specifically for “SVG cut files” or check the preview images to see if the design is a simple flat vector without heavy gradients. The DXF format can also be imported into cutting software, but it may require manual cleanup. If the pack’s SVG has a full background, you’ll need to use a vector editor to simplify the paths before cutting. Better yet, reserve the SVG for printing (print-then-cut) rather than pure cutting.
Mistake #4: Overlooking the EULA and Usage Rights
This is subtle but crucial. A commercial license often costs extra or is bundled differently. Creators who want to use the character background for merchandise, promotional materials, or digital products must ensure the license covers that. Simply buying the pack doesn’t automatically grant commercial rights.
What to do instead: Read the end-user license agreement (EULA) on the product page. If it’s not clearly listed, contact the seller. Many sellers offer a separate “commercial use” license for a small fee. Failing to check can lead to copyright issues down the road, especially if you’re selling items with these characters.
Mistake #5: Using the Wrong Format for Web vs. Print
People often upload the AI file to a website builder or email newsletter, only to find it doesn’t display. A browser can’t render an AI file natively. Similarly, using a JPG for a large poster results in pixelation. Each format has a primary purpose: PNG for online images with transparency, JPG for photos and smaller file sizes, SVG for web icons and responsive graphics, AI/EPS for professional print production.
What to do instead: For social media posts, the PNG file is your best bet because it keeps the transparent background, letting you place the character on any color. For a flyer you’ll print in bulk, open the AI or EPS file in a design program, set the correct CMYK color mode, then export a high-resolution PDF. If you’re a blogger, the SVG can be scaled to fit any screen without losing sharpness.
Practical Advice Before You Download or Buy
Here’s a checklist I recommend going through before pressing “Add to Cart” or clicking “Download.”
- Check the canvas size and confirm it aligns with your primary output. If you need print-ready files, ensure the vector formats are available.
- Verify your software compatibility. Do you have Illustrator, Affinity Designer, or a free alternative? If not, the AI and EPS files may be useless to you. Stick with SVG or PNG.
- Test a sample. If the seller offers a free sample download for a related design, try it. Open the SVG in your browser or the AI file in a trial version of Illustrator to see if the layers are organized and the character is separated from the background.
- Read reviews for comments about file quality, scale issues, or support. If several people mention that the PNG is low resolution or the SVG has unnecessary detail, look for another pack.
- Plan for edits. Even if you think you won’t customize, you might want to change the text or color later. The vector files give you that flexibility, while the raster files do not. Consider future needs before you choose which format to rely on.
Realistic Example: Reusing the Background for a Classroom Newsletter
Let’s say you’re a teacher who bought a Back to School Character Background pack. You want to create a weekly newsletter with a friendly pencil character next to your class updates. You open the PNG—nice, but you realize the background is a solid yellow that clashes with your school’s blue theme. Because the PNG is flattened, you can’t remove the yellow. Instead, you grab the SVG version, import it into Canva (which now supports SVG), and ungroup the elements. You delete the yellow rectangle behind the pencil, change the pencil’s color from pink to blue, and then export a new PNG with a transparent background. That flexibility only works if you understood the format differences beforehand.
If you had simply opened the JPG and tried to erase the background in a basic photo editor, you’d end up with jagged edges and lost time. The better approach took an extra few minutes but gave you a reusable asset.
Watch Out for Hidden Gems in the File List
Many packs list “6 digital files” but only describe the formats. The DXF file is often overlooked—it can be imported into AutoCAD for 3D projects or used in laser engraving. If you’re a maker, don’t ignore DXF. Similarly, the AI file might be created in an older version of Illustrator. If you’re using the latest software, the file should open fine, but some sellers provide a compatibility warning. Always note the software version used to create the files.
Another overlooked detail: the naming of layers. Well-organized AI files will have layers labeled “background,” “character body,” “eyes,” etc. Disorganized files have everything on one layer, making editing harder. Before buying, check the product images to see if they show the layer panel or mention that layers are separated. If they don’t, the AI file might be no better than a PNG.
Making the Most of Your Digital Assets
The real value of a Back to School Character Background pack isn’t just the cute illustrations—it’s the ability to repurpose them across different media. One purchase can serve for your blog’s hero image, a vinyl decal for your classroom door, a printed sticker for a student gift, and an animated social media post. That requires you to pick the right format for each job.
For web use: PNG for most banners, SVG for responsive website elements (they scale perfectly on retina displays). For print: AI or EPS for professional design work—these give you control over color profiles and bleed. For crafts: DXF or SVG simplified for cutting machines. For quick slides: JPG to keep file size low.
And don’t forget to keep backup copies. When you invest time editing an AI file, save a version as a PDF or PNG for easy sharing. Always store the original downloads in a dedicated folder so you can go back to the source if you need a different format later.
No digital product is perfect, but a well-constructed Back to School Character Background pack gives you a massive head start. Avoid the common mistakes by checking format purpose, canvas size, editing capabilities, and your software before you commit. Your future projects will look sharper, your workflow smoother, and your students (or customers) will appreciate the professional touch.